


Table of Contents Show
For a more polished email appearance, it’s valuable to know how to make and alter a signature in Gmail. A signature is like a digital business card, where you can share your contact info, let others know your availability, mention your job title, or simply add a personal touch like a quote or a joke.
In this guide, we’ll walk you through the setup process. You can also use these steps to change an existing signature. There are three different ways to go about it: creating or changing a signature in Gmail on a computer, on an Apple device (iPhone or iPad), or on an Android device. If you want more customization options, working on a PC or Mac is ideal, but you can use the other methods for quicker signature creation on the go.
How to create and change a signature in Gmail on a computer
You can set up signatures on a PC or Mac.
1. See all settings
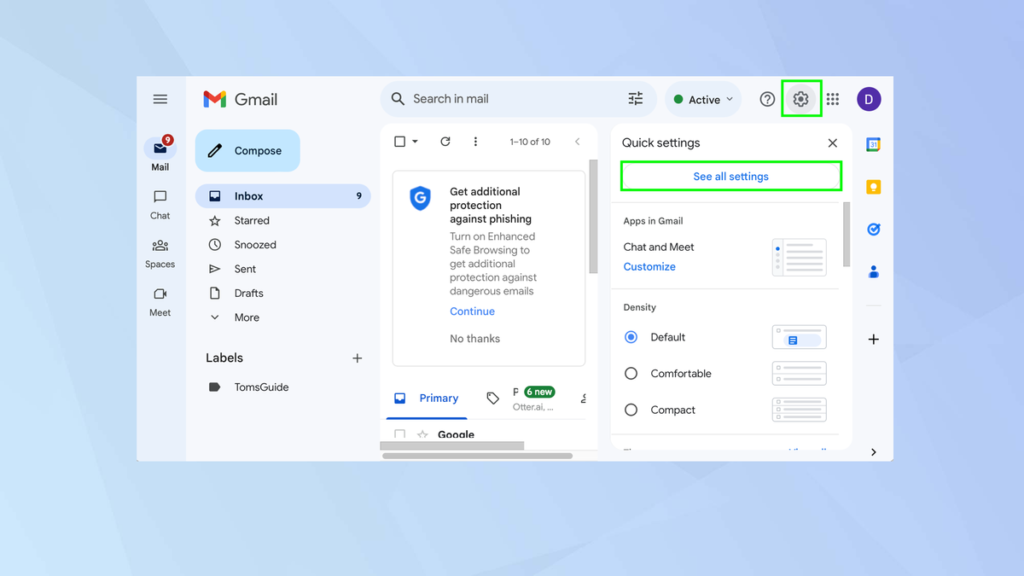
Launch a web browser and go to https://mail.google.com/ then select the Settings icon at the top of the screen. It looks like a cog. Next, select See all Settings.
2. Create new signature
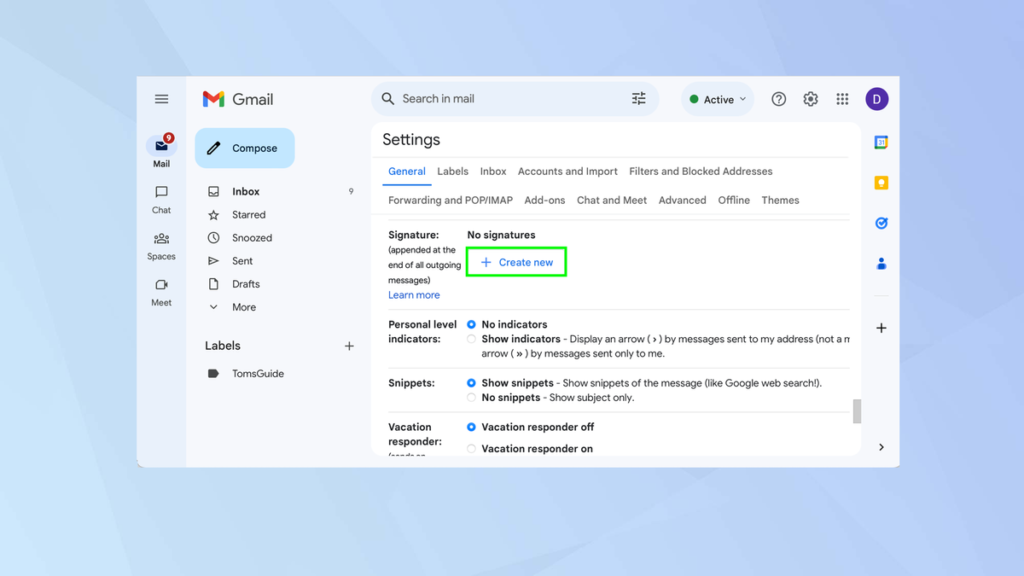
Scroll down the screen until you find the Signature section. Then click Create new.
3. Enter a name
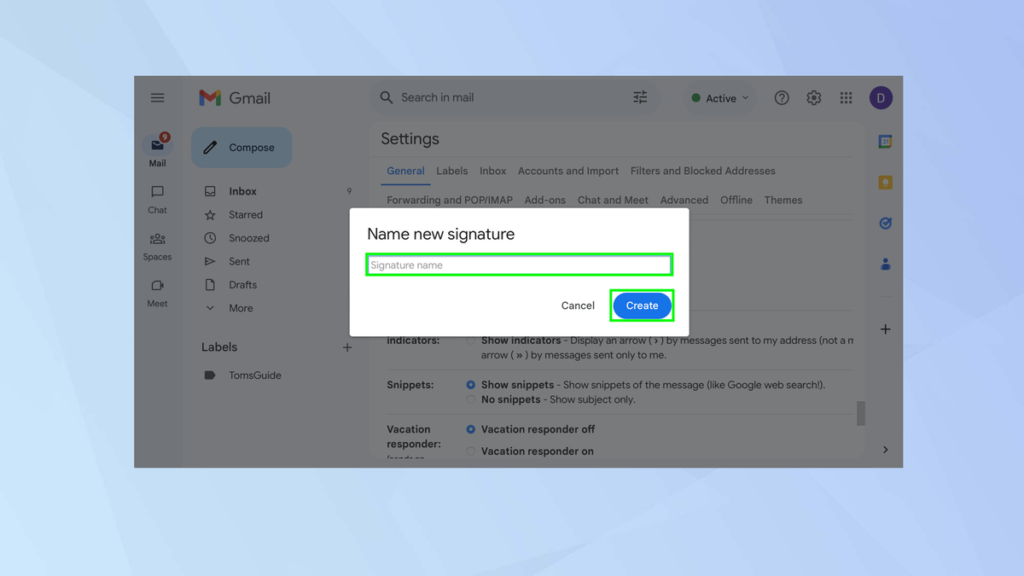
Input a name for your signature. You can have more than one signature so this will help you to identify each one. Click Create.
4. Write a signature
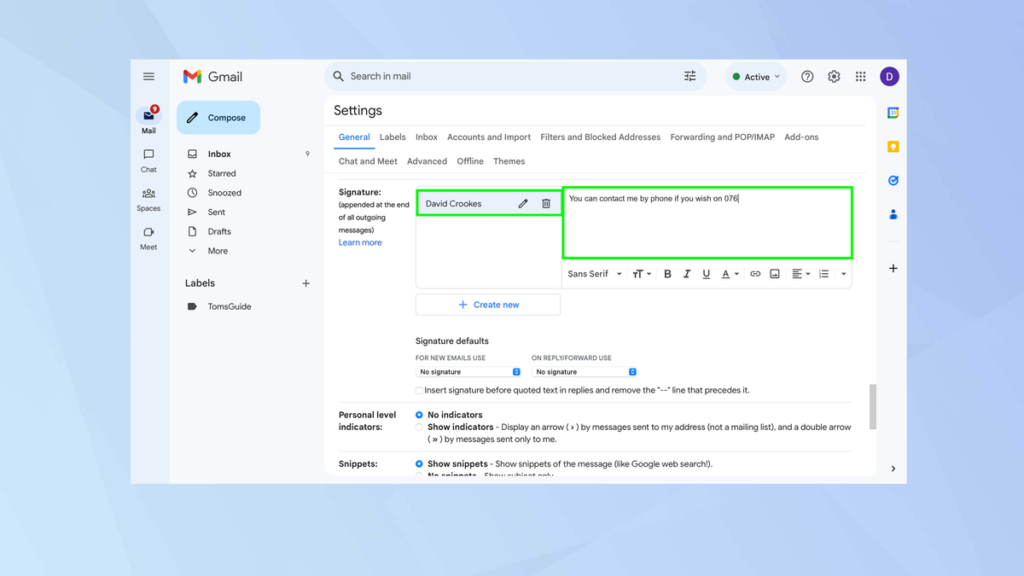
Now select the name of the signature you’ve created and enter words in the box to the right. Here you can click icons to stylize the text or add a link, photo, quotes and formatting. Images count towards the character limit.
5. Select the signature
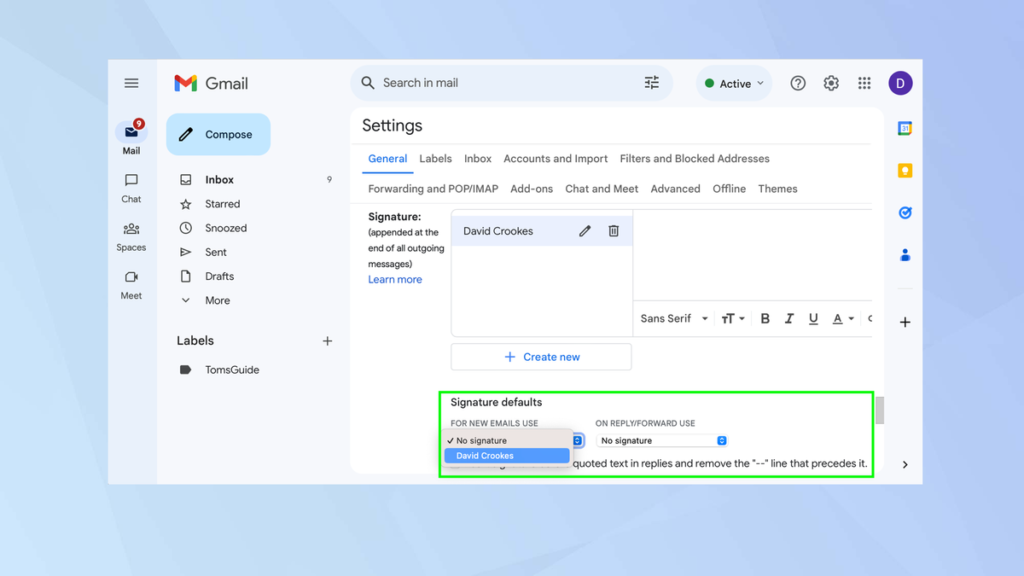
Now use the drop down boxes in the Signature Defaults section to choose the signature you want to use for new emails and for emails you reply to or forward. You can also tick the box if you want the signature to appear before any quoted text in an email.
6. Save changes
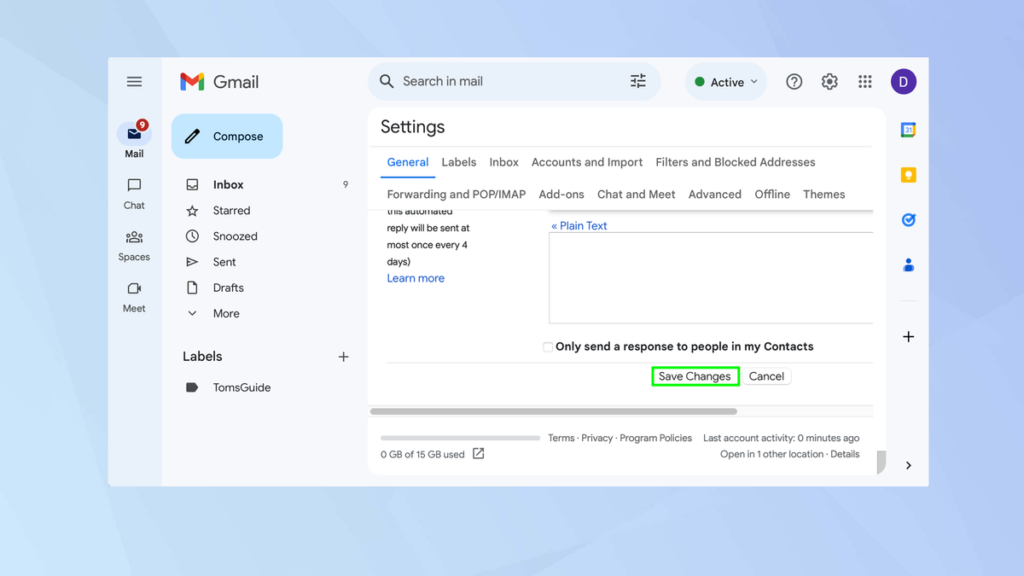
Scroll to the bottom of the screen and click Save changes.
How to create and change a signature in Gmail on an iPhone/iPad?
You can set up signatures on an iPhone or iPad via the Gmail app
1. Open the settings
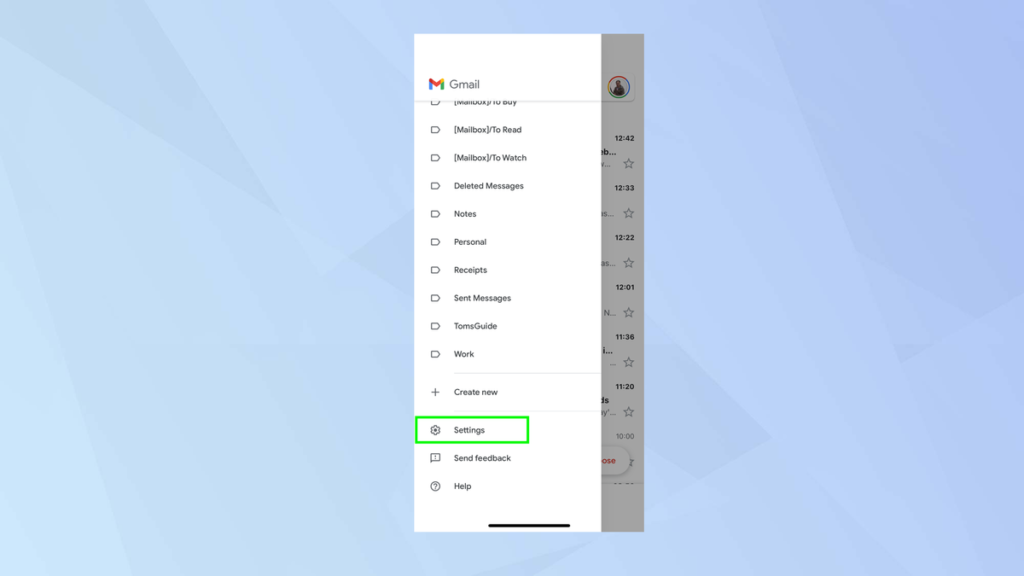
Launch the Gmail app and tap the three-bar menu in the top-left corner. Then select Settings.
2. Select Signature settings
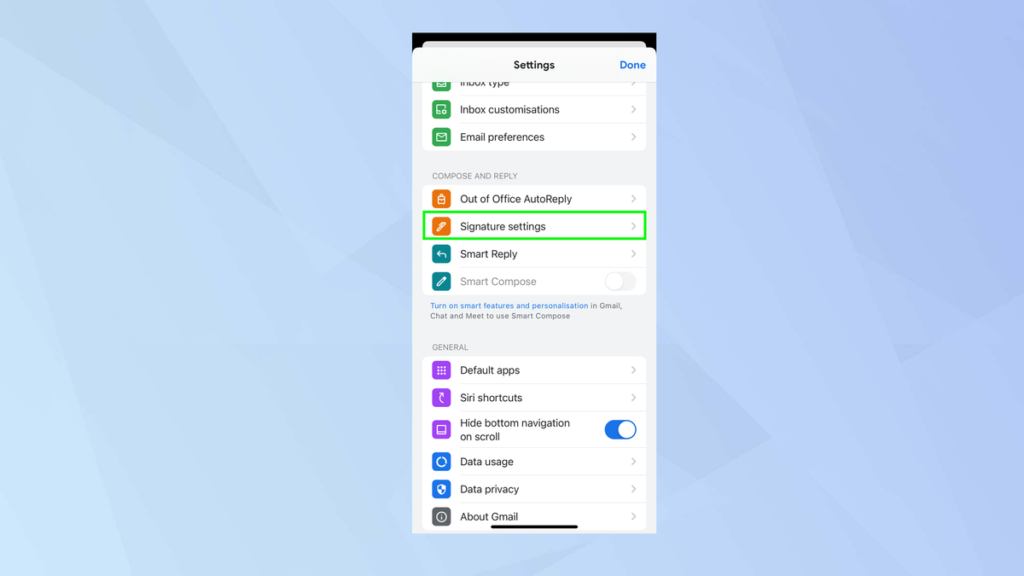
Now scroll down the screen and tap Signature settings in the Compose and Reply section.
3. Turn on Mobile signature
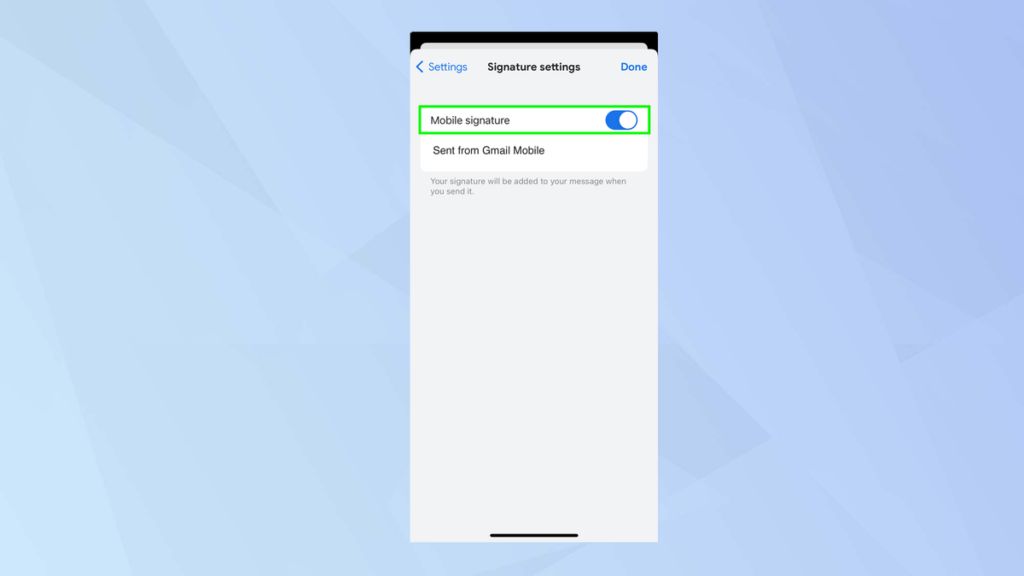
Use the slider to turn on Mobile signature. As you do so, the default signature (Sent from Gmail Mobile) will appear.
4. Write your signature
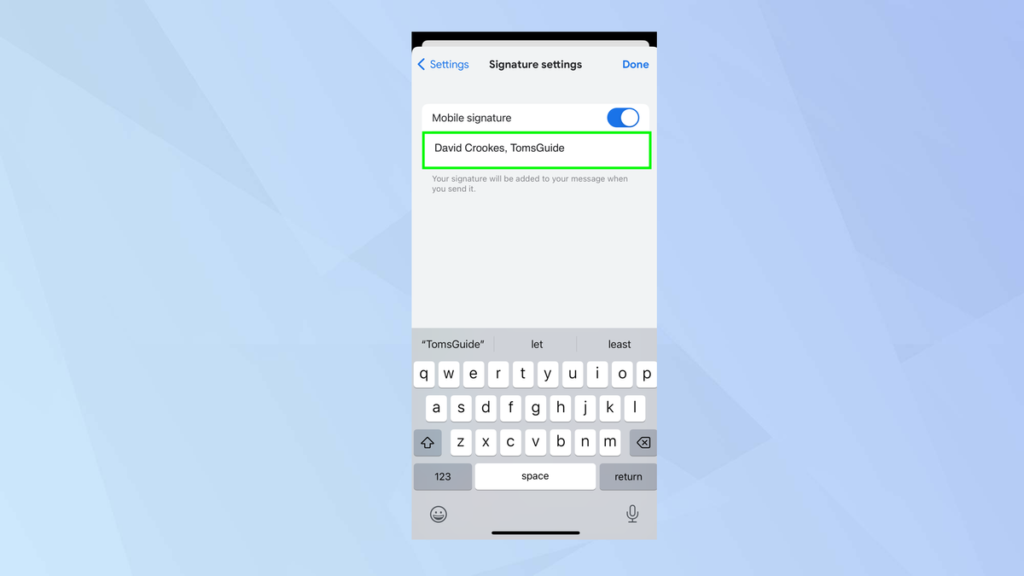
Delete the Mobile signature and write your own. Then tap Done.
How to create and change a signature in Gmail on Android?
You can set up signatures on an Android device via the Gmail app
1. Open the settings
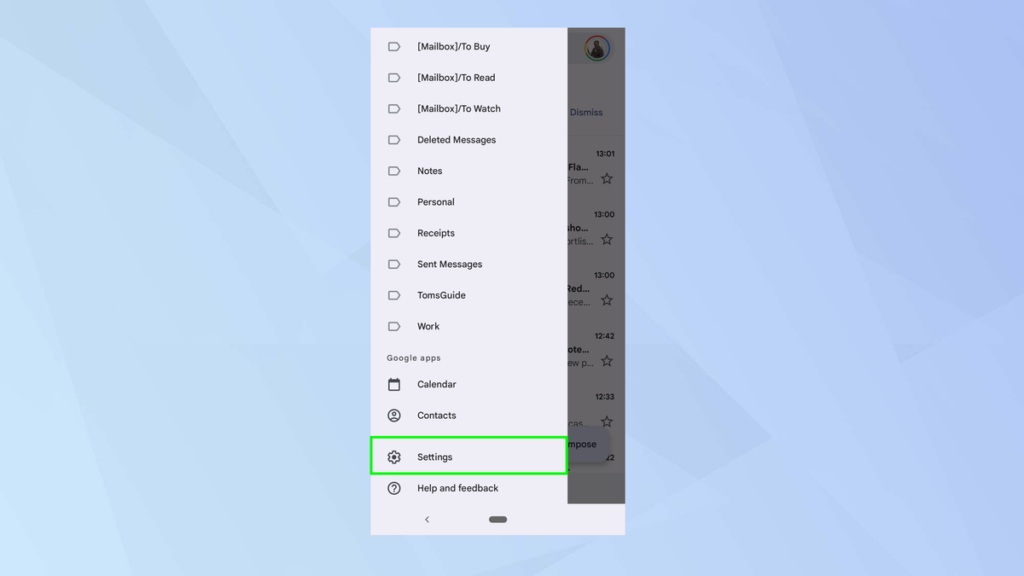
Launch the Gmail app and tap the three-bar menu in the top-left corner. Then select Settings.
2. Select Google Account
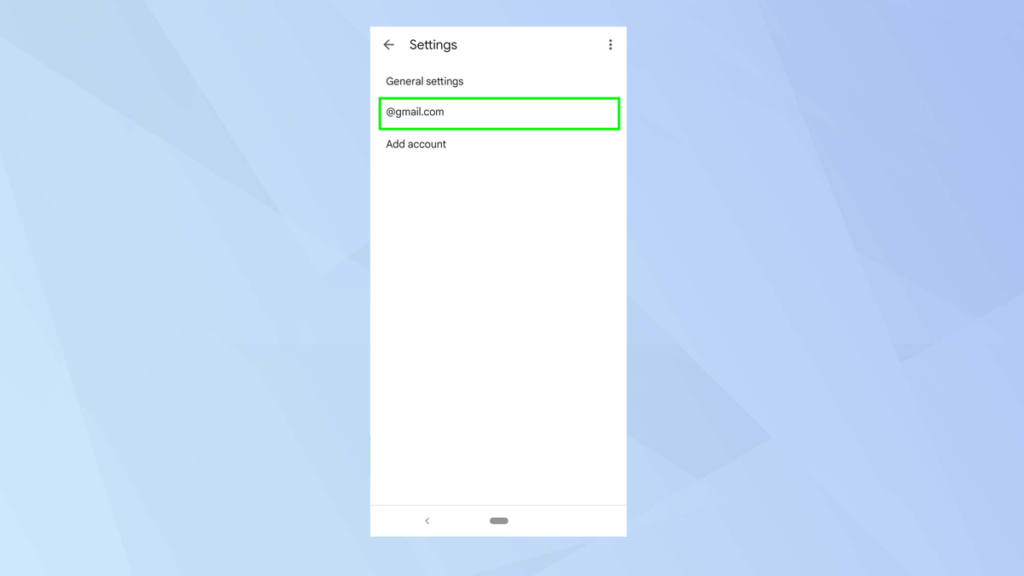
Select the Google Account you want to use.
3. Tap Mobile signature
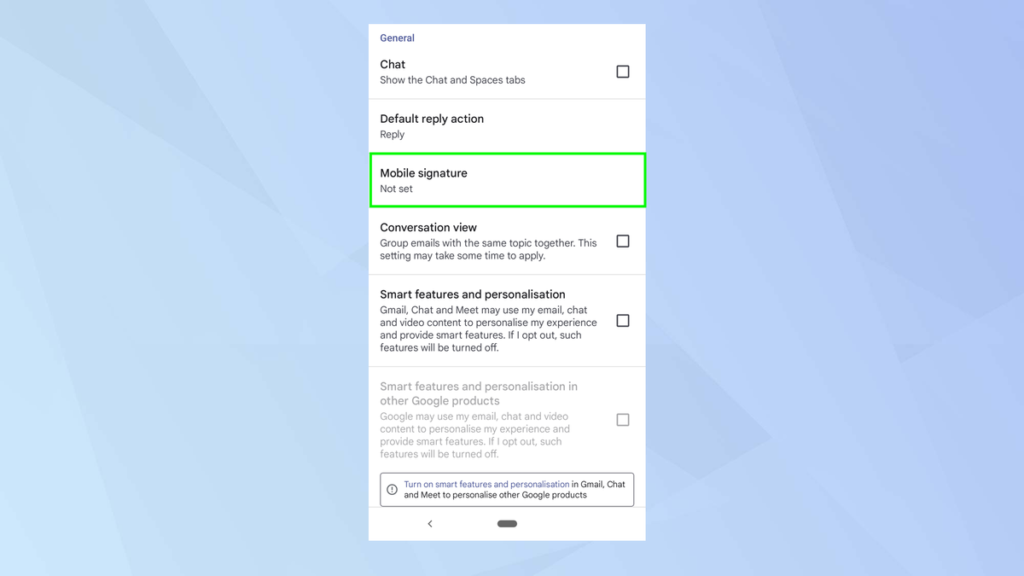
Now scroll down and tap Mobile Signature.
4. Write your signature
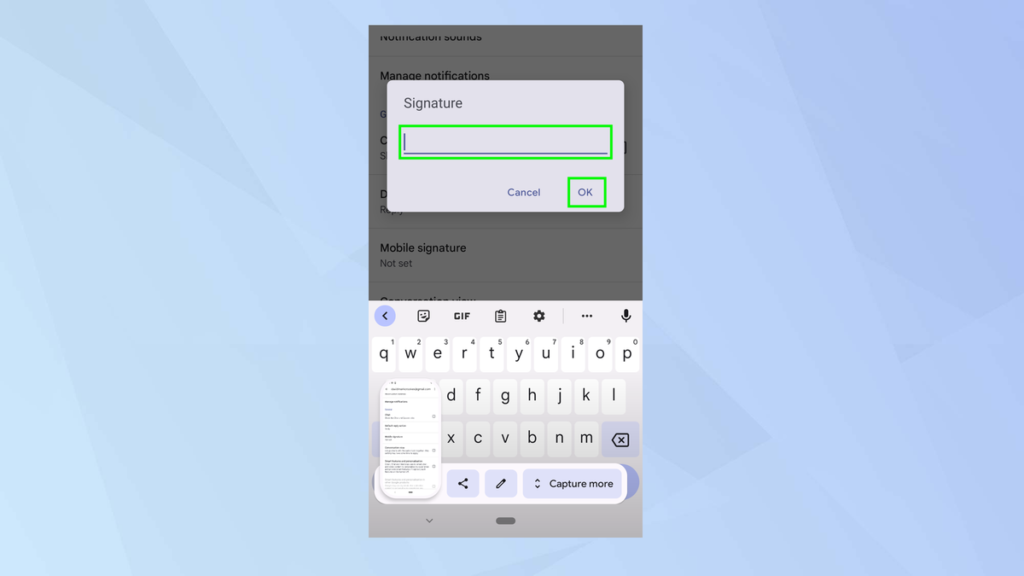
Enter your signature and tap Ok
And that’s it! You’ve figured out how to make and modify your signature in Gmail. You can also explore enabling Gmail’s two-step verification on your computer and configuring Gmail two-step verification (2FA) on your mobile device.